
Totem mastery is an essential skill for any Shaman in World of Warcraft, particularly when navigating the intricacies of tight spaces in dungeons and raids. Properly placed totems can significantly influence the outcome of encounters, especially in Mythic+ (M+) content where precision and timing can mean the difference between a successful run and a wipe. This guide focuses on the strategic placement of three crucial totems: Capacitor Totem, Tremor Totem, and Earthgrab Totem. Understanding their mechanics and how to best position them can elevate your gameplay and support your team effectively.
Capacitor Totem: Timing and Placement
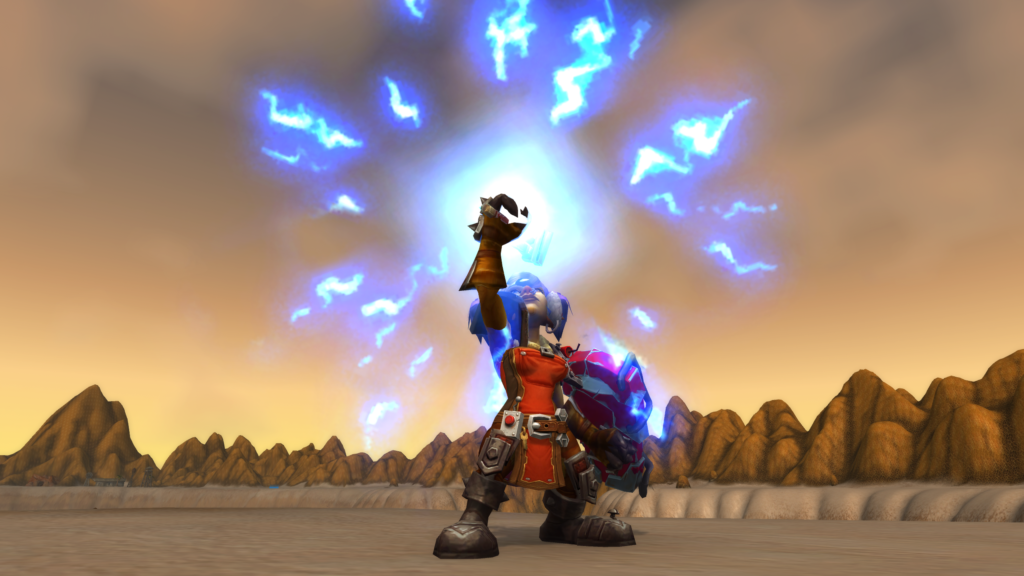
The Capacitor Totem is a powerful crowd control tool that can stun enemies within its radius, making its placement critical in tight encounters. Ideally, you want to drop this totem where it can catch the maximum number of targets while avoiding line-of-sight (LoS) issues. In many dungeons, this means placing it behind obstacles or near doorways where enemies tend to cluster. Be aware of your surroundings; for instance, in the Theater of Pain, positioning it on the edges of the arena can lead to optimal stuns during key mechanics. Remember to communicate with your team about the totem’s cooldown and activation timing to maximize its effectiveness.
| Totem | Cooldown | Range | Duration |
|---|---|---|---|
| Capacitor Totem | 30 sec | 40 yards | 3 sec Stun |
| Tremor Totem | 45 sec | 30 yards | Duration: Until dispelled |
| Earthgrab Totem | 30 sec | 40 yards | Slow 50% for 5 sec |
Tremor Totem: Countering Fear Effects
Tremor Totem is an indispensable tool for countering fear effects, especially in boss encounters with mechanics that inflict these debuffs. The ideal placement for Tremor Totem is in an area where players are likely to be affected by fear, such as during the fight against the G’huun encounter in Uldir. Placing it centrally allows it to affect as many players as possible, while also being mindful of aggro and enemy positioning. It’s also essential to use Tremor Totem in conjunction with other dispel mechanics, ensuring that your team can react quickly and efficiently to avoid panic and disarray during critical moments.
- Communicate with your team when placing Tremor Totem.
- Consider the timing of fear mechanics to ensure maximum uptime.
- Check the positioning of other players to avoid overlapping with their cooldowns.
Earthgrab Totem: Controlling the Battlefield
Earthgrab Totem serves as a crucial tool for controlling enemy movement, particularly in narrow spaces where enemies may be funneled. This totem’s ability to root enemies allows for strategic plays, especially when combined with other crowd control effects. In dungeons like Sanguine Depths, drop Earthgrab Totem at choke points to minimize enemy movement and setup for burst damage from your party. Understanding the timing of enemy abilities will help you predict when to place the totem, ensuring that your team can capitalize on the moment and secure kills without unnecessary risk.

Leave a Reply